Banner

Banner

Monday, March 19, 2012

FREE Tutorial: Twisted Bracelet and Earrings


Supplies:
         
·         Jumpring, gold-plated, 8mm fancy round(26)
·         Jumpring, gold-plated, 7mm round(52)
·         Jumpring, gold-plated, 6mm fancy round(22)
·         Mother-of-pearl (dyed), brown, 20mm donut(5)
·         Swarovski® crystal, topaz, 4mm(10)
·         Clasp, gold-plated brass, 18.9x11.6mm(1)
·         Eyepin, gold-plated, 2-inches long(5)


Tools

·         Chain Nose Pliers
·         Flat Nose Pliers
·         Round Nose Pliers
·         Wire Cutters
·         Ruler
·         Jumpring tool opener and closer


1). Make a chain 3-3-3-3-3. This means that 3 rings are connected to three more, and three more, and so on. You have to make sure that there is one large twisted ring in the middle of every 3 rings. (Photo1)
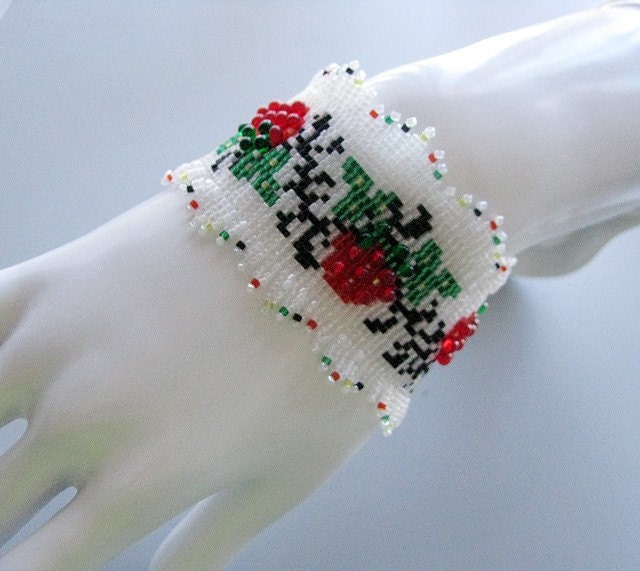
2). The picture is how your 3-3-3-3-3 chain should look like. You need to make four more of these 3-3-3-3-3 chains.  (Photo2)
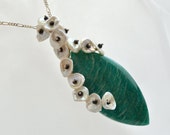
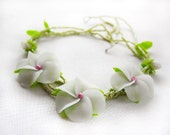
3). Take one eyepin and put only ONE side of the shell bead on. Then, put one small Swarovski crystal on, followed by 2 small twisted rings, and another Swarovski crystal. Finally, put on the other side of the shell bead on and make a simple loop.  You have to make 2 more of these connectors. (Photo3)
4). Take one small twisted open ring. Put one side the chain on it. On the other side of the twisted ring, connect it to one of the connectors. Repeat this step until your bracelet looks like the picture below. (Photo4)
5). Add a lobster claw clasp with a headpin dangle and jump ring closure or a toggle – it’s
 your choice. (Photo5) 
6). For the earrings, make two chains 3-3-3. Instead of using an eyepin for the connector, use a headpin. Connect the earring together using one small twisted ring. Make the other earring. It should look like the picture. (Photo6) 


I hope you enjoyed it!


Sunday, March 11, 2012

Tucson Gem Shows: My treasures

Being in Arizona, I obviously couldn't come home empty-handed. There were so many wonderful thing around me, I wanted to buy them all!  So, I ended up buying a few wonderful items. Being the woman that I am, I wanted to share my treasures with you all :-)))


My favorite Pearls.


I just could't get past this pendant :-)))


Many, many crystals.


Seedbeads.


Gorgeous druzy.


The different pendants.


And beautiful  labradorites.

Tuesday, March 6, 2012

Around Wire: Basic Tools for Wirework

Around Wire: Basic Tools for Wirework: When you start working with wire, you need tools. Often, I am asked, "What tools do I need for wire-wrapping?" There is a huge range of jewelry tools available. I would say you need four tools for sure :) But...The more you work, the more tools you have, believe me.
So, let's look at some tools. Pliers.
.......

Sunday, March 4, 2012

Tucson Gem Shows

Even though February is longer this year, it flew by very quickly. It was a very busy month for me. Earlier this month I was in warm Arizona in Tucson. For three weeks Tucson, Arizona hosts dozens of different gem shows, hundreds of dealer displays and many special events throughout the downtown and nearby hotels during the annual Tucson Gem Shows.


You ask me: What am I doing there? I teach to make jewelry!!! I saw my old friends and I also met wonderful new teachers and students. 


To make long story short, I'll show you pictures (I am a bad writer, by the way).


Three talented instructors-"Chain Maille Lady" Lauren Andersen, Irina Wilson and Me :-)))


Free jewelry making demo: Jodi  Bombardier and Me.


I was teaching next table to my friends Albina Manning and Dale 'Cougar' Armstrong.


I had a wonderful time with  Meredith Arnold and Bea Grob.


Fay and Dolores are taking my "Arizona Necklace" class. They are very talented!!!

This is just a brief of what was going on.  And I'm looking forward to next year!!!


LinkWithin

Related Posts with Thumbnails